A COMPLETE GUIDE TO WHAT HAPPENS DURING YOUR HVAC INSTALLATION: FROM CONSULTATION TO COMFORT
S&P HVAC Service • February 24, 2026
Installing a new HVAC system can be a complex process, but knowing what to expect at each stage can help make it smoother and more manageable. From the initial consultation to post-installation follow-up, here’s a step-by-step guide to the 9 key stages of a successful HVAC installation, ensuring that your system is set up efficiently and tailored to your home's needs.
9 steps to a successful hvac installation: what to expect from start to finish
Installing a new HVAC system is a significant investment, and understanding the process can help you feel more confident in your decision. Here’s what you can expect, step by step:
1. Initial consultation and assessment
The first step in the process is an initial consultation and assessment. A professional HVAC technician will visit your home to evaluate your needs based on factors such as the size of your home, insulation, local climate, and your specific heating and cooling preferences. They will also consider your current system’s performance and any issues you’ve encountered. After this, they’ll recommend the best HVAC system for your home, ensuring it suits your budget and comfort needs.
2. Scheduling the installation
Once you've selected your HVAC system, the installation date will be scheduled. Depending on the complexity of the system and the type of home, HVAC installations generally take 4 to 8 hours. You'll receive confirmation of the time and date, along with instructions on any preparations you should make, such as clearing space around the installation site.
3. Pre-installation preparation
Before the HVAC installation begins, here’s what you can expect during the preparation phase:
- Clearing the Area: The technician will ensure the area around the HVAC system is clear for easy access. This may involve moving furniture and other obstacles.
- Protecting Surfaces: Floors and other surfaces may be covered to protect them from any debris or dust created during the installation process.
- Shutting Off Power and Gas: For safety, the technician will shut off power to the existing HVAC system and disconnect any gas lines if applicable.
This step ensures that the installation process is both safe and efficient, with minimal disruption to your home.
4. removal of the old system (if applicable)
If you're replacing an old HVAC system, the technician will first remove the existing unit. This involves disconnecting electrical lines, gas lines, and refrigerant lines, ensuring that everything is handled safely and properly. After removal, the old unit will be disposed of according to local regulations, especially with regard to refrigerants.
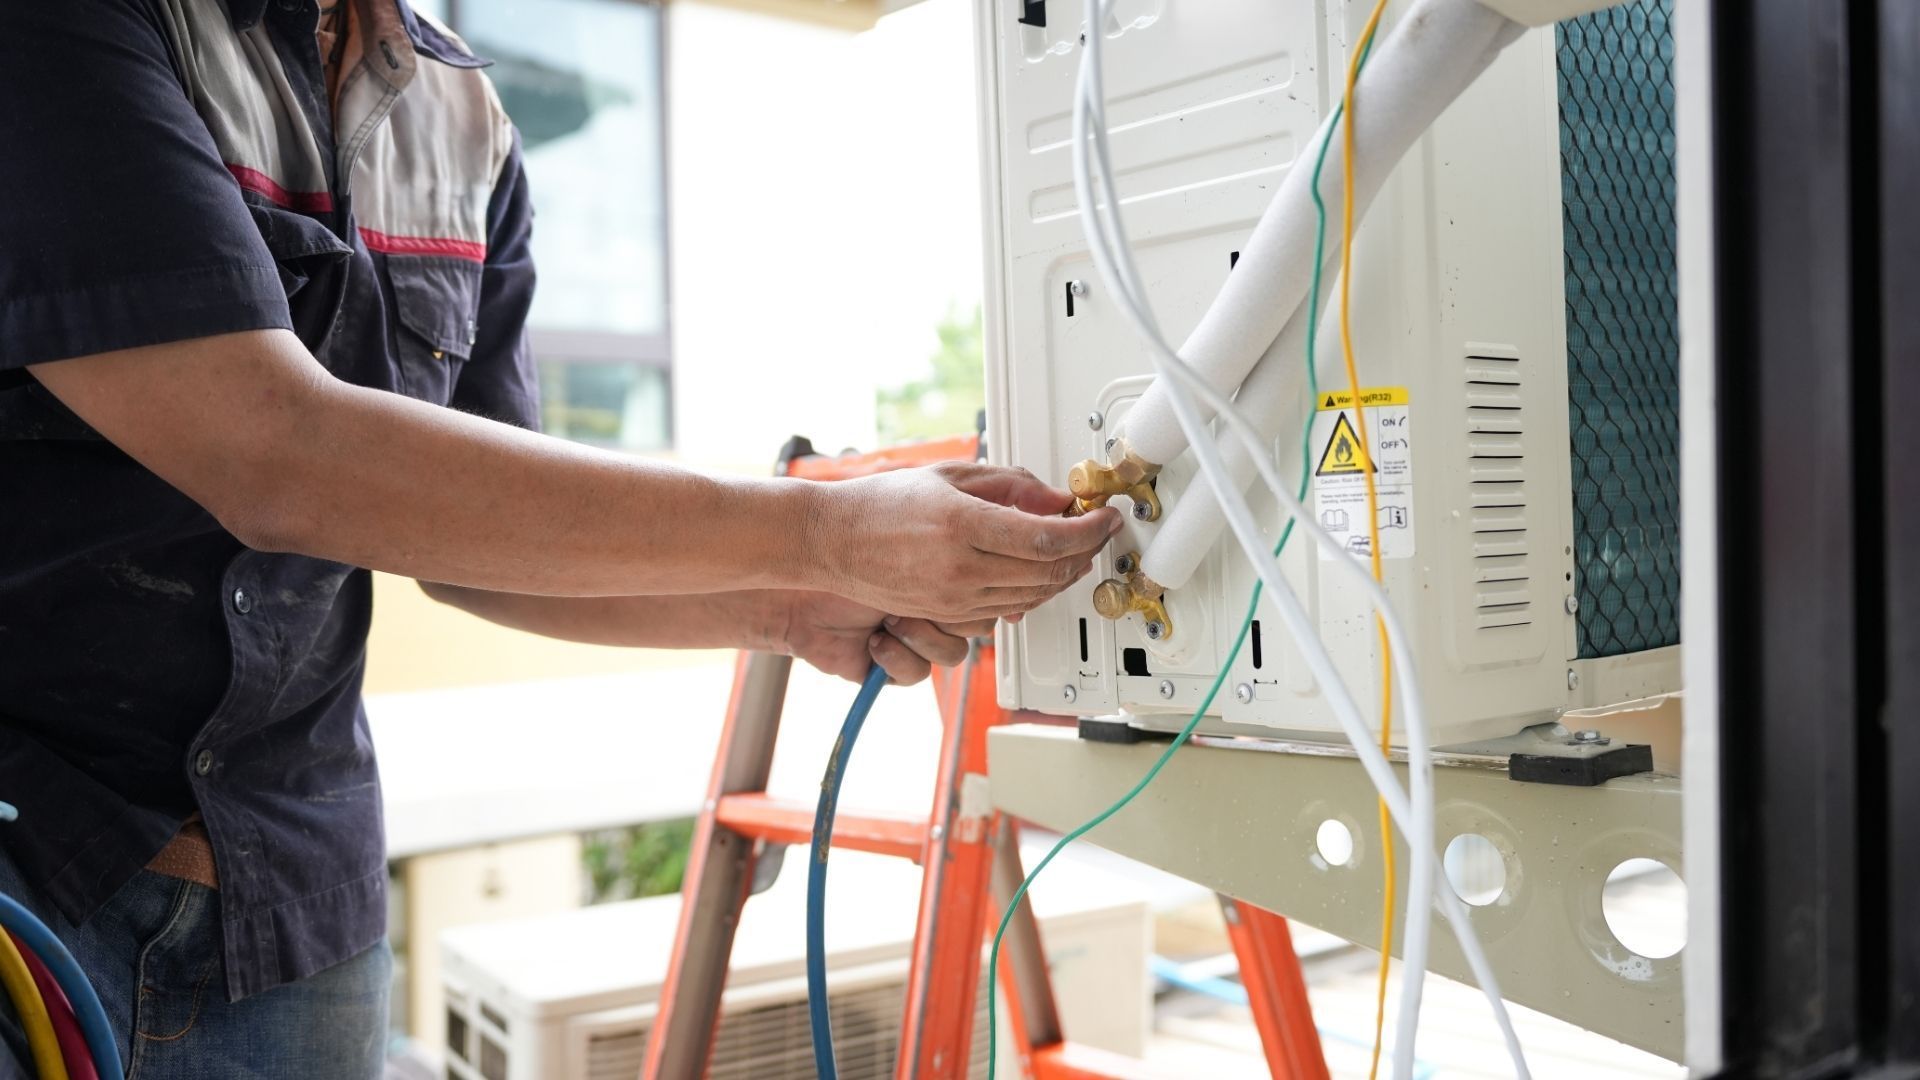
5. installing the new hvac system
Once the old system is removed, the new HVAC system will be installed. This involves placing the new unit in its designated area and connecting it to the existing or new ductwork. If needed, the technician will install new ducts and ensure proper insulation and sealing to maximize system efficiency. Electrical and plumbing connections will be made to ensure that the system is properly powered and safe.
6. system calibration and testing
After the HVAC system is physically installed, the technician will perform the following steps to ensure it's operating correctly:
- Checking for Refrigerant Leaks: The technician will inspect the system for any leaks in the refrigerant lines to prevent efficiency issues.
- Adjusting Airflow: Airflow will be adjusted to ensure optimal performance and comfort throughout your home.
- Ensuring Proper Pressure: The system will be pressurized to the correct levels to function efficiently and safely.
- System Testing: The technician will power on the system and test it to ensure it’s heating or cooling as expected.
- Fine-Tuning: Any necessary adjustments will be made to ensure the system runs at peak performance.
This thorough calibration and testing process ensures that your new HVAC system works efficiently and provides the comfort you expect.
7. final inspection and clean-up
After the system is up and running, the technician will conduct a final inspection to ensure everything is functioning correctly. They will also clean up the work area, removing any debris, packaging materials, and old equipment. The installation area will be left clean and ready for you to enjoy.
8. Walkthrough and User Education
Once the system is fully operational, the technician will walk you through how to use it, including how to operate the thermostat, change filters, and maintain the system for long-term efficiency. The technician will also provide you with a maintenance plan and schedule for regular servicing to keep your HVAC system running smoothly.
9. system activation and enjoying comfort
With everything installed, connected, and tested, you’ll begin enjoying the comfort of your new HVAC system. Whether it's heating or cooling, you’ll notice the difference in your home's comfort levels immediately.
Ready to Upgrade Your HVAC System?
Ensure your home stays comfortable year-round with a professional HVAC installation. Contact us today to schedule your consultation and start your journey to better home comfort!
Understanding the HVAC installation process from start to finish empowers you to make informed decisions about your home’s heating and cooling needs. By following these 9 steps, from the initial consultation to post-installation follow-up, you can ensure that your new system is installed correctly, operates efficiently, and keeps your home comfortable for years. With proper planning, expert technicians, and attention to detail, your HVAC installation will be a smooth experience, giving you peace of mind and the comfort you deserve. Ready to get started? Contact us today for a consultation and take the first step toward a more comfortable home.